How can you take cute vacation photos for your social media?
- Use your camera during dusk
- Stay in detailed backgrounds
- Use a tripod
- Make your ISO settings 400
- Set your shutter speed at low
Vacations often inspire many people to take some nice photos that they can share on their social media accounts. It’s a good thing that many hotels in Muntinlupa have many beautiful spots for you to take some good pictures from.
For anyone who is planning to take photos to fill a whole album with them, you might want to read up some photography tips that will help you capture the perfect moments with your friends and family.

Take photos during dusk
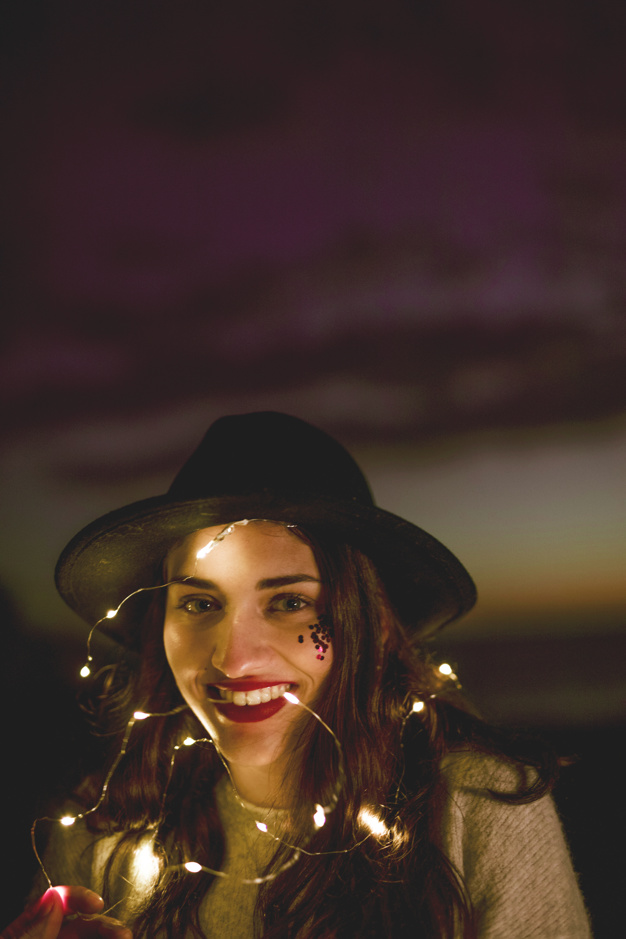
In the Philippines, dusk is usually at 5 or 6pm. This is the time when the day slowly transitions into night. During this hour, the sky often changes into pretty colors that you can use as your backdrop.
If you are staying in a hotel in Muntinlupa, the best thing you could do to capture these colors is to go on the roof deck. Most of the time, there is a restaurant or bar located on the roof deck so it’s better to have a reservation during this hour so you can easily take your photos.
After your dinner is over, you can continue taking some photos with all the city lights in your background.
Use a tripod
You may think that a tripod is just a piece of fancy equipment for professional photographers. But this device will surely come in handy for vacation goers such as yourself!
Still not convinced? Here are some reasons why you should take a tripod with you:
Reduce shaky movements
A good photo requires stillness. If your hands make your camera to shake from left to right, it will result in a shot that is blurred and unprecise. With a tripod, you don’t have to worry about this since it will hold your camera for you.
Allows you to take shots at different angles
A tripod’s legs are extendable. Thus, you can choose to take photos at high and low angles. Additionally, since you can adjust the height of the equipment, you can make an image shorter or taller than it really is.
It makes close-up photos easier
Close-up photos are one of the most tiring images to take because it requires a lot of skill and a lot of patience. You want the image to come out as sharp as possible—you can do this with a tripod.
It allows you to take photos without anyone handling the camera
Another reason why you should bring a tripod with you is that it allows you to take your photos using a timer.
If you have a complicated camera, you know the challenge of having to explain it to someone else just so they could take a picture for you (it’s not a guarantee that they’ll even take a good photo of you). By bringing a tripod, you can easily set it up as well as the timer so there’s no need to ask others to take photos for you and your group.

Make eyes the focus
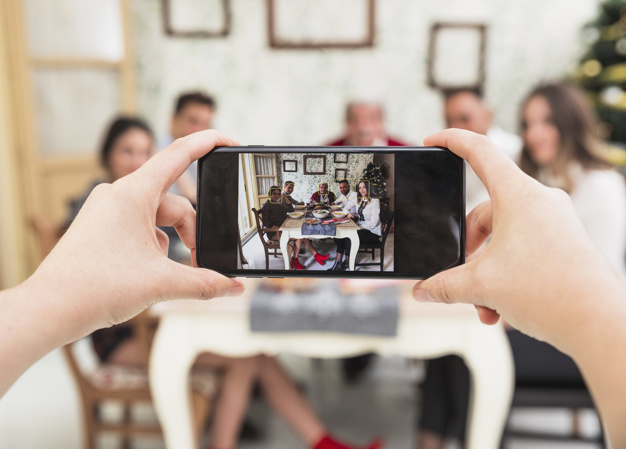
Not sure how to take great group photos? Try angling your camera at the eye level.
By focusing on the eyes of your subject, you will capture a great photo of all of your faces (or your friends’ faces if you’re the one taking the photo). You can count on your photos being great since this angle eliminates distracting dead space. In addition, your chosen backdrop will look more natural. Plus, the focus will be on you guys when you finally post it on your social media feed.
Make your ISO settings 400
ISO refers to the brightness of your camera. If you choose to make the ISO setting super low, then your photo will be darker than the original image. If it is super high, the result will come out the opposite.
The best ISO setting you could go for is 400, which is the right amount of brightness. This will allow your photos to come out in high quality with low degradation. If you have this setting from the start, there are lesser chances for you to end up editing your pictures afterwards. You can immediately post them on your social media feeds.
Set your shutter speed at low
A lot of people love taking photos next to neon signs but it can be difficult to do so. When you capture these lights with your camera, the final image usually don’t come out great—this is due to their “flicker effect” (could also come out if you try to capture fairy lights or Christmas lights).
To capture their brightness precisely, change the shutter speed of your camera to an interval of 1/30. With a 1/30 rate, your electronic lens will be up to pace with the 60-hertz frequency of the flickering lights. Hence, you will not miss any of the movements in your shot. You will end up with a photo that is very bright, beautiful, and most of all, clear.
Key Takeaway
Vacations are one of the best times to take photos with your loved ones. It is only natural for you to want to share them with all your friends on your social media accounts. It is also inevitable for you to want them to come out great. You can do so by simply following our tips above!

